
Before Jurassic Park’s raptors leapt through the kitchen or Psycho’s infamous shower scene made cinematic history, those moments began as sketches on a storyboard. Movie storyboarding is the blueprint of visual storytelling—a crucial step that transforms ideas into a clear, visual roadmap for cast, crew, and camera. Whether you’re an aspiring filmmaker or a seasoned creative, learning how to make a storyboard effectively can elevate your production from good to unforgettable. In this guide, we’ll walk you through 6 essential steps to help you craft a movie storyboard that’s as strong as the scenes you imagine.
What is a Movie Storyboard? 3 Examples
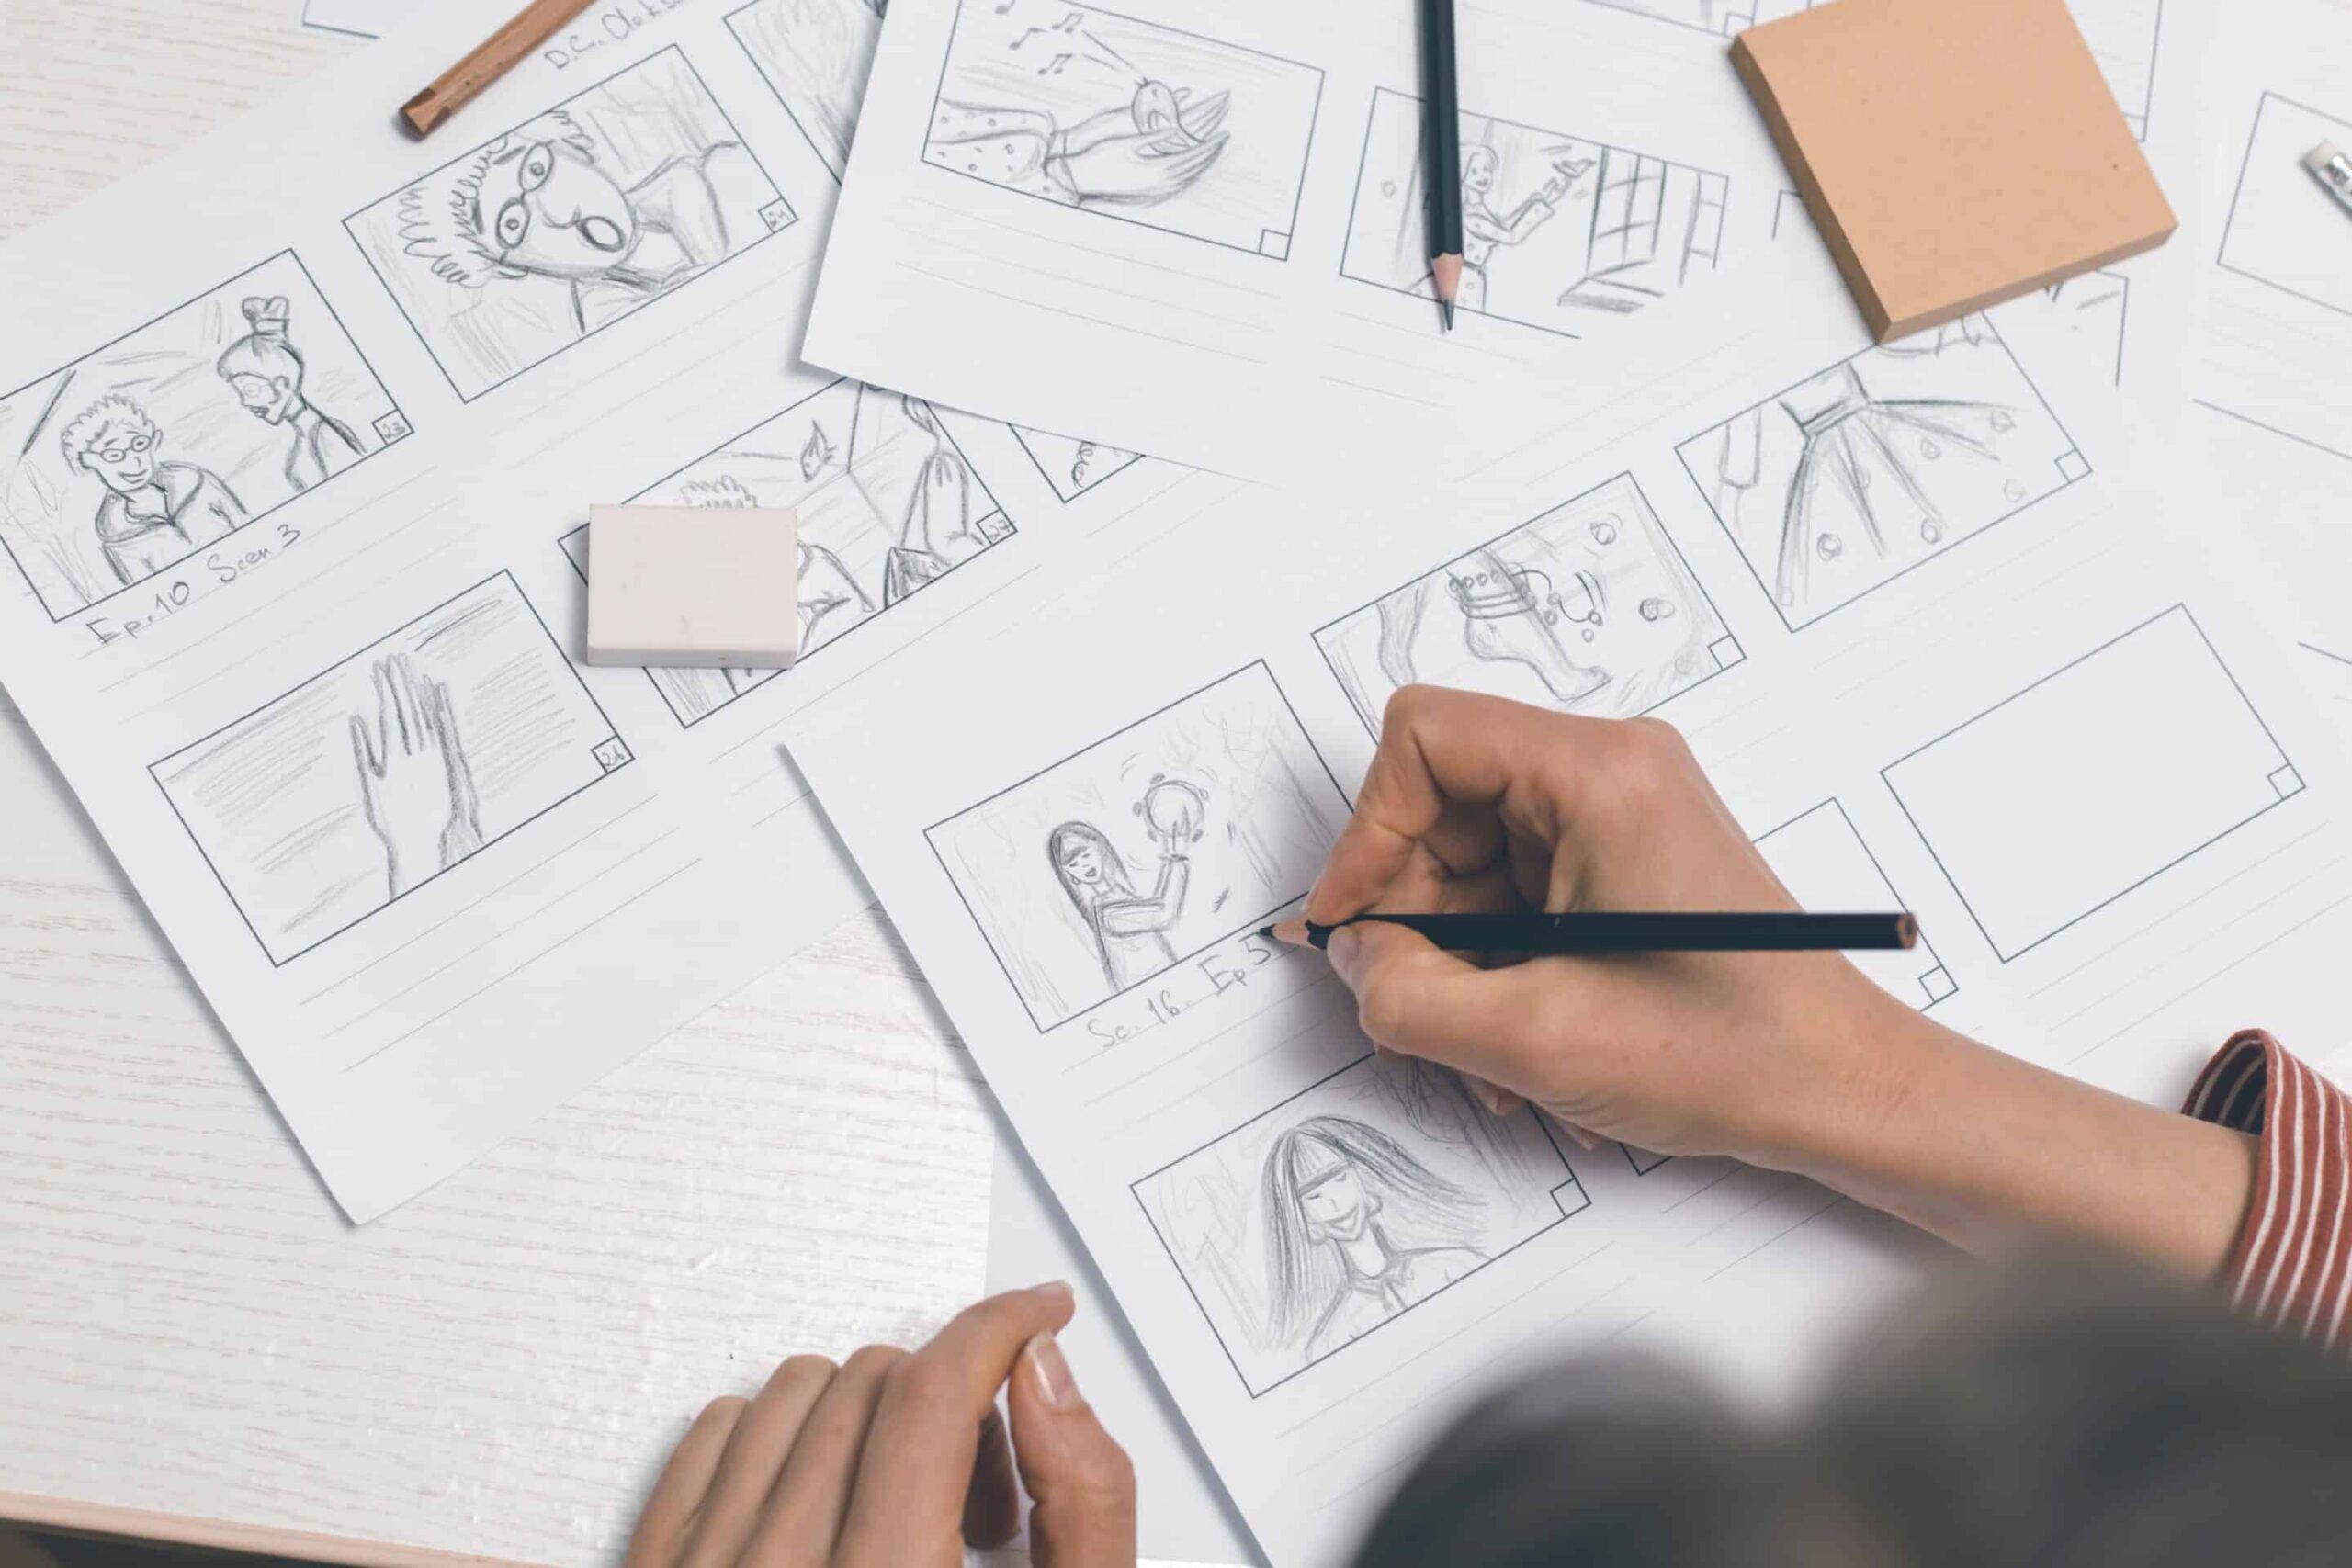
A storyboard is a visual representation of a short film, a feature film, or an animation. Storyboards break down action into individual panels, usually in a series of ordered drawings, including dialogue, camera movements, or other necessary details. Ultimately, it sketches out how a film will unfold, shot by shot. While many storyboards are hand-drawn, some creators use storyboarding software (more on that later). In the end, the storyboard resembles a comic book or a graphic novel.
Storyboarding is an essential part of a film’s pre-production process. A script will give you the flow of your project, and a storyboard translates that flow from word form into image form, bringing the story to life. Storyboarding aims to get all the coverage needed to craft an enticing story in the editing room and to do it economically, avoiding spending unnecessary time filming extra shots and losing money in the video production process. Solid storyboards help organize shot lists, becoming a precise map of what’s needed on a chaotic shooting day.
3 Examples of Stellar Movie Storyboards
Before we dive into how to make a storyboard, draw some inspiration from the best of the best. Here are 3 storyboards from blockbuster movies to motivate you as you create your own:
1.Raiders of the Lost Ark: Opening of the Ark
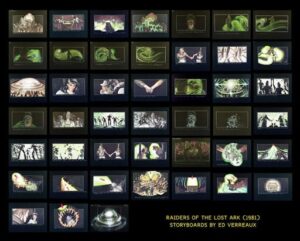
During the pre-production of Raiders of the Lost Ark, director Steven Spielberg asked illustrator Ed Verreaux to practice drawing three scenes to storyboards over a weekend to see if he’d hire him for the film. After the test, Ed passed and was employed as a storyboard artist for his first major feature film. One such scene represented the climax of the film when Belloq opens the Ark, and its power destroys the Nazis, erasing them from the world with a cleansing light. The final result closely followed the storyboard, capturing Verreaux’s creativity and harrowing scene.
2. Psycho: The Shower Scene
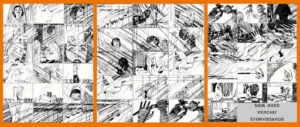
Few horror scenes beat the iconic shower murder in Psycho. From the close-up shots of Marion’s mouth to the slow stabs of the mysterious antagonist, each frame is a masterclass in suspense and psychological horror. The most shocking part? The protagonist dies only 30 minutes into the chilling flick. The movie’s storyboard for this scene is attributed to Saul Bass, with both he and Alfred Hitchcock directing the scene. Massive detail went into the 48 sequence storyboard, including the killer’s silhouette on the shower curtain, the leading actress reaching up as she falls to her death, and a close-up shot of her eye as she’s left for dead. Watching the scene, you’ll notice that the storyboards were followed explicitly with little to no changes. Hitchcock was notorious for this—meticulously planning each shot well in advance, leaving little room for improvisation on set. His commitment to visual storytelling meant that every angle, cut, and moment of tension was mapped out with surgical precision. In the case of Psycho, this rigorous pre-production approach allowed the infamous shower scene to unfold with mechanical perfection, each frame working like a cog in a greater psychological machine.
3.Jurassic Park: The Raptor Sequence
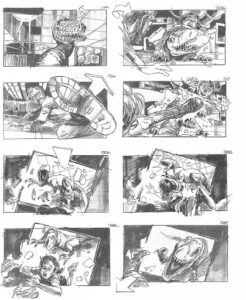
Drawn by Dave Lowry, this frightening final battle between the raptors and the main characters was meticulously storyboarded to heighten suspense and showcase the intelligence and ferocity of the velociraptors. Lowry is a regular collaborator of Steven Spielberg, having worked on all the Jurassic Park films, including 2015’s Jurassic World. Lowry’s drawings captured the claustrophobic tension of the darkened Visitor Center, the strategic use of reflections and shadows, and the dramatic choreography of the raptors stalking their prey through the kitchen. These storyboards served as a crucial visual blueprint for translating the scene’s horror-thriller tone onto the screen, culminating in a high-stakes showdown that balances fear, action, and awe, solidifying Jurassic Park’s place in cinematic history.
How to Make a Storyboard: 5 Steps
1. Create a Shot List
Before storyboarding for film, it’s essential to make a shot list. Choose a scene from your script and create an index of the shots you need to capture it. If you aren’t sure of which shot to start with, break up the script you’ll be working with. Go through the story, marking up key aspects of the storyline, including actions, locations, wardrobe changes, narrative arcs, and major plot points. This helps you form the frames for a storyboard and decide how you’ll transition from one scene to the next.
Shot lists include all the information on a storyboard without images. What camera angle best tells the story, or could you add movement to make it more dynamic? Who will be in the scene, and what will they do or say? Is there any audio you need to add to enhance the storyline? All of these questions can be answered in a detailed shot list. A shot list aims to describe each shot rather than just showing it. Think of it as the backbone of your storyboard.
2. Format Your Storyboard
Before the exciting part of drawing the storyboard, you’ll need to prepare it first. You can use a storyboard template or software, or draw the format yourself. Simply sketch a few rows of squares with enough space to sketch the scenes. If you’re unsure how many panels to draw, start with a 3×4 layout. However, if you want your illustrations to be more detailed, consider using fewer, larger frames instead. Next, draw lines on the top and bottom of each square, which will be used as text boxes to include the details of each shot. The result should look similar to this:
When learning how to prepare a storyboard, it can be helpful to use a digital storyboard if pen and paper aren’t your thing. These platforms can also integrate reference photography, screenshots, location shots, and motion from several different sources, allowing you to create a more dynamic and comprehensive visual plan.
3. Sketch it Out
Now’s the time for the fun part: sketching each shot in every square. If your scene involves movement, spread it across multiple squares and label them as the same shot. Make each box as detailed as possible, including facial expressions, camera angles, zoom-ins or zoom-outs, character positioning, and key actions driving the scene forward.
What if you can’t draw? If you’re not much of an artist, don’t get hung up on that—it’s still possible to do storyboarding for your film project. Here are a few tips for those who aren’t naturally talented at drawing:
1.Keep it simple: Storyboards don’t need to be a masterpiece, especially if you can’t draw very well. The purpose of a movie storyboard isn’t to look appealing, but rather to communicate your intention and vision as a filmmaker. Simple sketches featuring stick figures and arrows are enough to convey your story and ensure the team understands how to get the shot.
2.Hire a professional: If you are unsatisfied with the stick figure route, try hiring a professional storyboard artist. Graphic illustrators are often skilled at creating movie storyboards, or you can hire a specialist who focuses specifically on storyboard preparation. Hiring a professional can be a solid idea if your budget allows for it. However, if you’re limited on funds, ask if a friend or family member is artistically gifted and able to help you with your project. When hiring or working with someone, ensure you know exactly what you want each scene to look like, or else the pro will fill in the gaps for you and may not match your vision.
3.Photograph your storyboards: Do you have a camera handy? In that case, photographing storyboards is an excellent alternative to drawing them. Frame how you’d like each shot to look, position actors or stand-ins, and snap away. After you’ve taken the photos, label them properly with shot descriptions, indicators for motion, or sequence numbers.
4. Fill in the Details
In the space above or below the images, you can fill out the details of each scene. Since images don’t move, your text must explain everything from camera movement or shot size to transitions and emotion. Here are a few key elements to consider adding in after you’ve drawn out your movie storyboard:
- Transitions: Note how one shot moves to the next, whether it’s a jump cut, dissolve, fade, or wipe. Mentioning these editing techniques helps convey pacing and mood, and it ensures a smoother visual flow during editing.
- Composition & Framing: Indicate whether the shot is a close-up, wide shot, over-the-shoulder, etc. Consider the rule of thirds, depth, and balance within the frame to guide the viewer’s eye and enhance storytelling.
- Character Blocking: Use arrows to show where characters are positioned and how they move within the frame. This is especially helpful for scenes with multiple actors or complex interactions.
- Emotion & Expression: Sketch or note characters’ facial expressions and body language. These cues are crucial for conveying tone and emotional arcs.
- Dynamic Action: Use arrows or sequential frames to illustrate motion, such as a character running, a car turning, or an object falling. This brings your storyboard to life and clarifies physical movement.
- Annotations: Add brief notes to describe sound effects, dialogue snippets, camera movement (like pan or tilt), lighting ideas, or any other essential production details that aren’t obvious from the drawings alone.
5. Edit it Together (Optional)
While entirely optional, putting your storyboard together by creating an animatic can be very helpful. To make one, simply import your drawings into an editing software. Cut them together as a final film sequence, including audio if you’d like. Animatics can give you and the film crew a clear idea of what you want to capture on set. Famed directors like Wes Anderson use them regularly to portray their vision and make it happen.
6 Movie Storyboard Programs to Consider & 3 Free Options
If you have the budget, investing in scriptwriting and storyboarding software can be beneficial and save you time in the long run. These tools handle formatting scripts and help you create shot lists, movie storyboards, schedules, and organized budgets.
Here are a few top-rated storyboarding programs to consider:
1. Final Draft
2. Fade In
3. PanelForge
4. Celtx
5. Movie Magic Screenwriter
6. Toon Boom Storyboard Pro
If you’d like to learn how to prepare a storyboard digitally but don’t want to pay the hefty fees, here are a few free options:
1. StudioBinder: A user-friendly online platform designed for filmmakers that offers free storyboard templates and tools to organize scenes, upload images easily, and plan shots.
2. Photoshop: While not a dedicated storyboard tool, Photoshop allows for flexible storyboard creation using layers, brushes, and customizable templates—great for illustrators who want more control over their visuals.
3. Storyboarder by Wonder Unit: A free, open-source program explicitly built for storyboarding, featuring a simple interface, drawing tools, and integration with animation software to bring your boards to life.
From Storyboard to the Big Screen
Learning how to make a storyboard requires practice, patience, and a willingness to refine your ideas visually. As you experiment with framing, pacing, and character movement, you’ll develop a stronger sense of translating written scenes into compelling visual narratives. Whether you’re entirely new to film storyboarding or have been doing it for years, it’s constantly changing. Every film project comes with new challenges, visions to execute, and ways to communicate. That’s why hiring a professional can be highly beneficial in storyboarding.
Avalanche Studios is a comprehensive video production company that helps filmmakers execute their vision, from pre-production to getting their flick on the screen. Our team of artists, directors, and filmmakers knows exactly how to create stellar storyboards. From illustrating each sequence of a scene to incorporating every detail needed for seamless execution, our award-winning crew has the experience and expertise to bring your vision to life—clearly, creatively, and with cinematic precision. Contact our Utah-based team for a personalized quote or tell us more about your vision. We can’t wait to help you make it a reality.